In this article I want to showcase the new Privacy Management component for Microsoft 365. This is a (still in preview) component which brings together three major parts for managing and protecting privacy sensitive information: detecting policy violations | answering data subject requests | informing your end users. Hope you enjoy. Estimated reading time: 10 minutes
Compliance with national and international privacy regulations is no small feat to accomplish. The EU General Data Protection Regulation alone has 99 official articles and 173 so-called recitals. Some of these articles are widely known – mostly the ones in chapter 3: Rights of the Data Subject. You’ve probably heard of the “Right to be forgotten” and the “Right to Data Portability”. But there’s lots more and most refer to the ability to protect and safeguard privacy sensitive information.
In this three part series, I will be looking at the new Privacy management dashboard for Microsoft 365. This dashboard is now in preview and is really comprehensive. More information on this new function can be found here: https://docs.microsoft.com/en-us/microsoft-365/compliance/privacy-management-setup?view=o365-worldwide
In this part I’ll be looking at subject rights requests.
Subject rights requests
Data Subject Requests (DSR) or subject rights requests are typical for the GDPR regulation. It allows people to request an overview of their personal information. As I stated at the beginning of this article, eDiscovery and search was used to accomplish this. And these are still part of the solution. But the solution has become much, much user-friendly.

Let’s start with the process, as this ties in with the screens you are going to see.
- Create a subject request by creating a query;
- Get a data estimate for the query;
- Retrieve the data based on the query;
- Modify the query if needed;
- Review the data (using the Data collected tab) with your team;
- Include/exclude specific data and/or redact;
- Generate the reports and exports;
- Close the request.
These steps are presented on a specific detail page. And from this page (see below) you are presented with additional options. For example, you can use Power Automate to create a calendar reminder to follow-up on the case. And because of the integration with Microsoft Teams, any request has its own Microsoft Teams site to collaborate with co-workers on the request. Neat!

Let’s create one….
When you create a subject rights request, you will need to enter some specifics:
- Firstname, lastname, e-mail address and residency of the “subject”;
- Additional attributes like a telephone number;
- The relation to the organization (former employee, for example);
- The type of request: Access | Export | Tagged for follow up;
- Any regulation this request is meant to address, for example: GDPR;
- And lastly: the deadline for the request.
When done, the first stage of the request will begin. The system will create an estimate of the amount of data which complies with the query. Be careful: during the preview I noticed that this data estimate has a limit of 300.000 items.
The initial query used by the data estimate will be used to search any information in Microsoft 365. Including attachments in an e-mail, for example. This query still seems similar to the one used in the more classic DSR function. It’s like this:
((<Display Name> OR <e-mail address>) OR (author=<Display Name>) OR (createdby=<Display Name>) OR (participants=<e-mail address))
One thing to notice, is that the operators have changed. Instead of “can contain”, they now are set to “must contain”. Also be aware that the Display Name is made up of the first name, last name you entered when creating the request.
Once the data estimate has finalized, you can modify this query. You can add more metadata to the search. Many metadata are part of this search, including retention labels. Weirdly enough, you cannot add SharePoint Online metadata, like content types. But this might be because it’s still preview functionality.

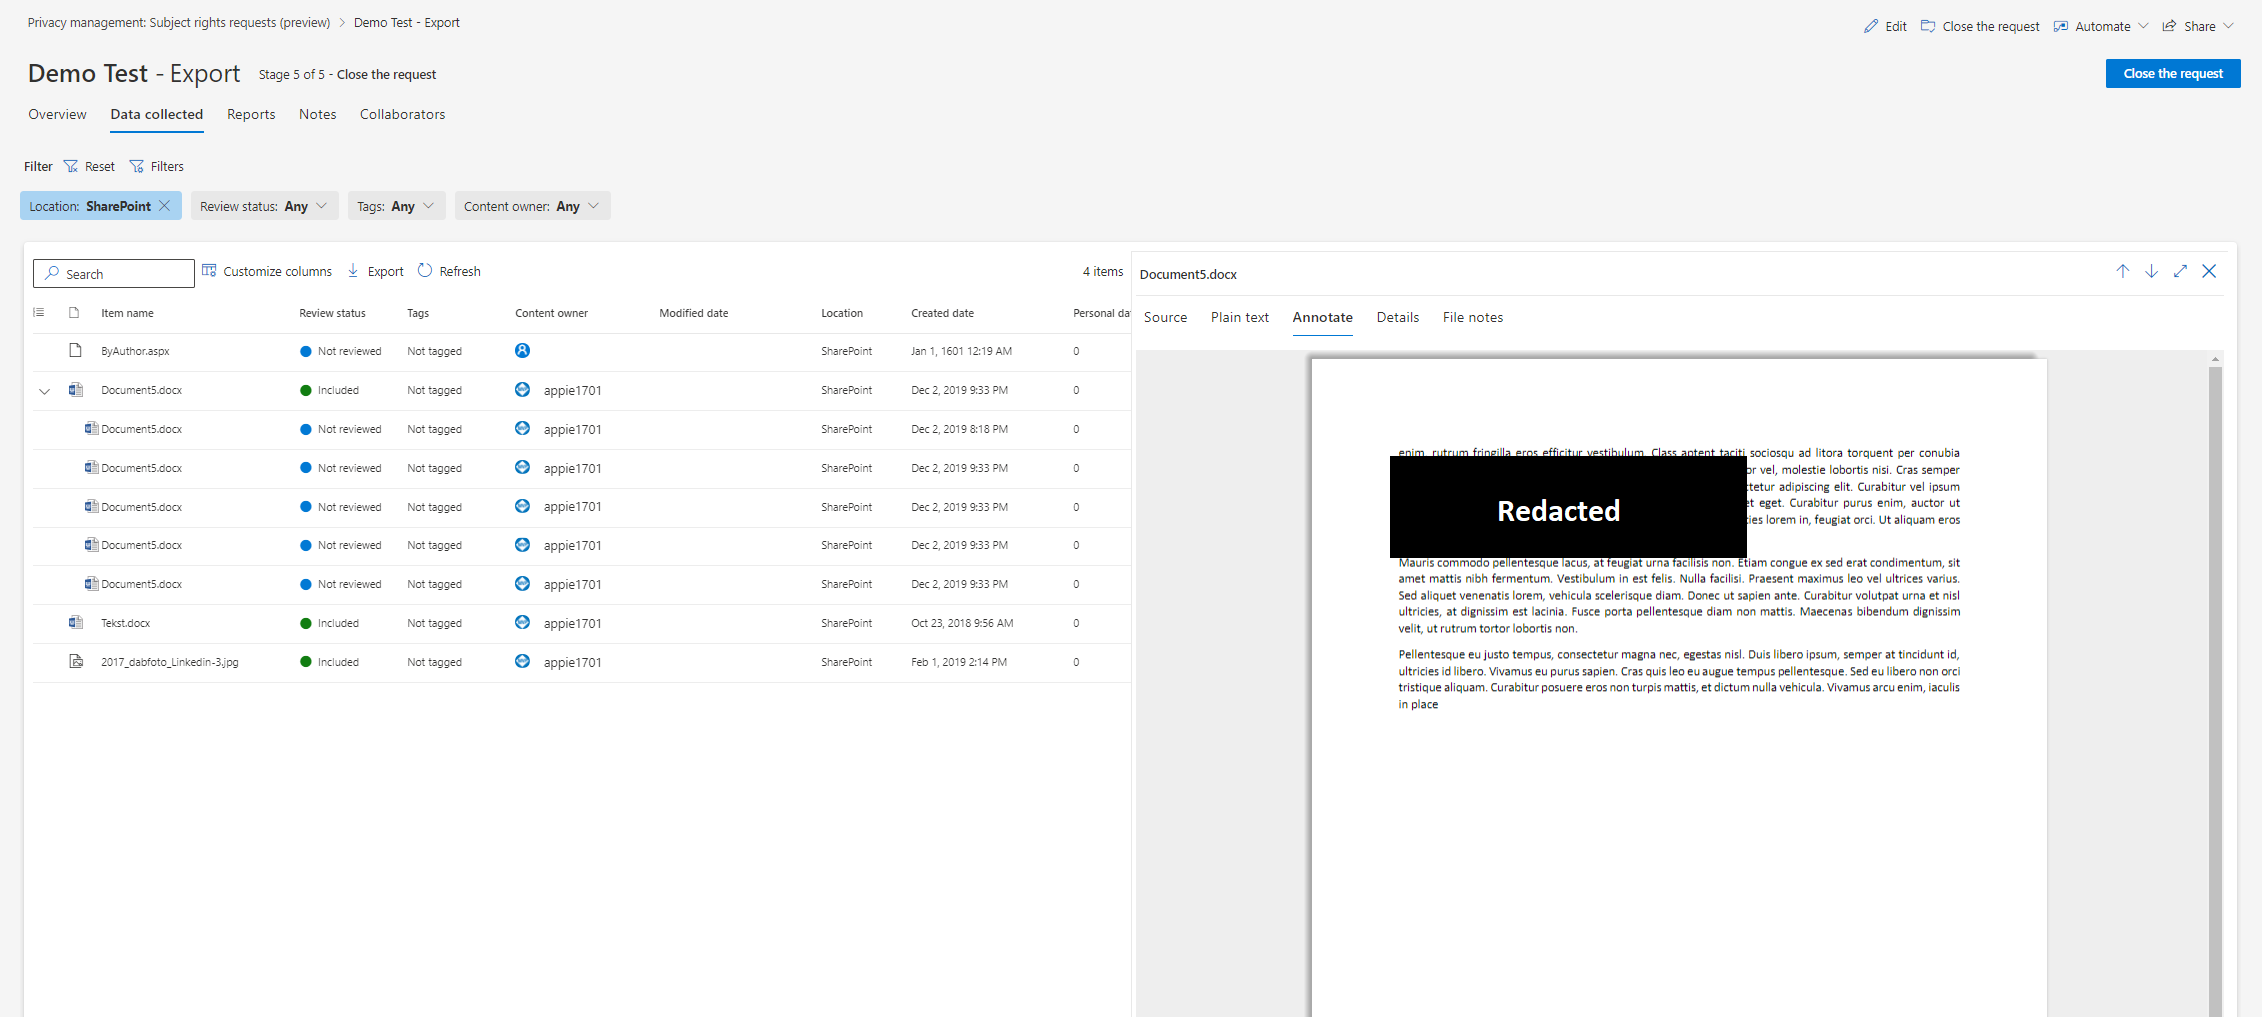
After the data has been retrieved, based on your query, you can now review the results. Documents, e-mails, and conversations are displayed in the preview-pane. Take note of the items marked as priority. These are either labeled using Microsoft Information Protection or contain personal information outside of your query. And these should be redacted prior to exporting the data.
But this is not the place to do the “real” review for the data. For this, you will need to go to the Data collected tab. This is the location you or your team will work on the discovered data. Here you can mark specific data for additional follow-up or include/exclude it from the final report and export.
One thing I really like about this data review part is the auditing. Any information you tag or include/exclude from the final request package will be reported. In addition, a more complete auditlog is part of the final report.
Working on the data is straight forward. You get a preview of the data and your can use filters to select relevant components. Teams conversations, if any, are presented as a thread, which is very nice.
When you want to include specific information or data, you can simply use the relevant option for this.


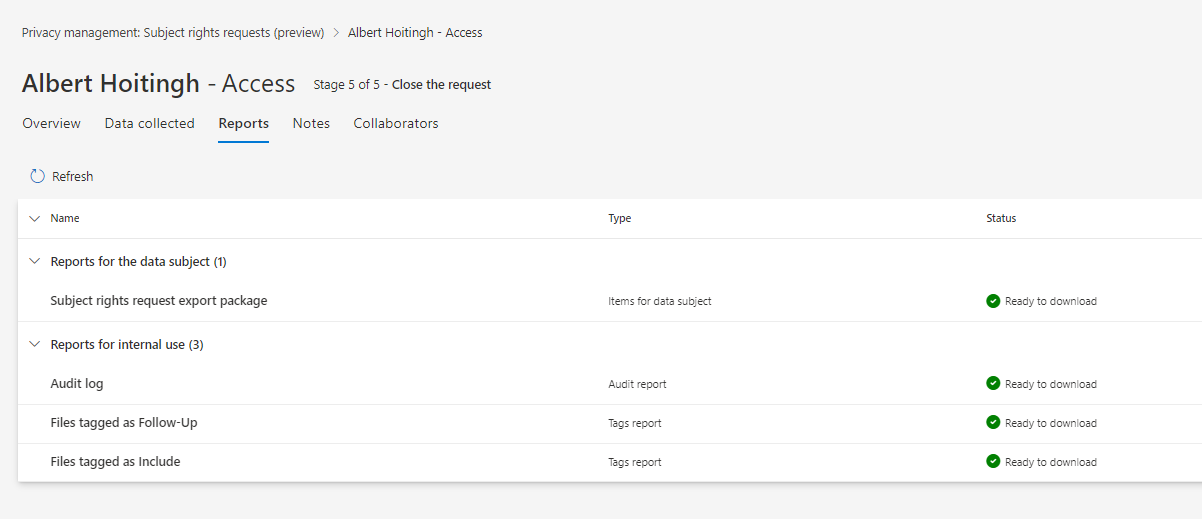
Once done, you can now complete the review. This will allow you to enter some comments and go on to the next phase. Normally, this will be the creation of the reports, which will be presented at the Reports tab.
For the subject of the request, a final report and package of relevant files are created. For internal use, an audit log and any other activity reports are stored within the request.
So, what’s in the package?
The downloadable zip file contains a lot of information. You will notice two CSV-files, containing information on the reports and request. The Azure folder contains the requested documents. Don’t expect a very nice report detailing where the information was stored, who has/had access, etcetera. The reporting is very basic and you will need to incorporate this in a readable format for the requestor.
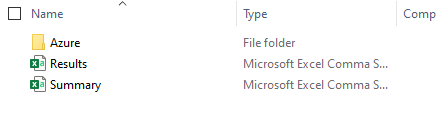
The documents come in three different flavors.
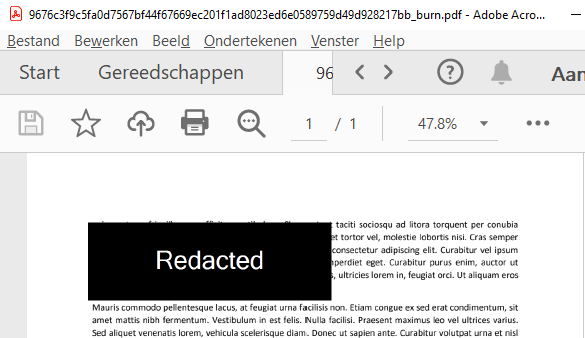
- Error_files: these are files which could not be read by eDiscovery. Most common scenario: these were encrypted;
- Extracted_text_files: txt-files with information extracted from the original files;
- NativeFiles: original files in either their native file format or with the suffix “_burn.pdf”, when these have been redacted.
Here’s an example of the redacted file.
The Export_Load_File CSV-document contains the metadata of the files. For example: e-mail and document metadata.
Close the case
Once the request is closed, you cannot create any more reports or exports. You do still have access to the reports and the data that was collected by the query. I don’t have information on retaining information about the request. Probably there will be some form of retention/deletion, but I haven’t found this yet.

Concluding
This has been one of my more detailed articles. And this makes sense, I think. The new Privacy management dashboard is a very comprehensive collection of functions. Insights, policies, and the requests workflow. I really like the way Microsoft has created this. It is user-friendly and relatively easy to work with.
I do have some remarks:
- The Data Match function still is somewhat unclear to me;
- Will this dashboard work at scale (with multiple data privacy officers, across multiple departments)?
- You still need additional functions to see who had/has access to the original document. Although the export does include information on the last saved date, which users saved the document and modified this;
- There is a item limit for the data discovery (300.000 items);
- There is no dropdown when selecting retention labels in the subject request query. You will need to add the name of the label yourself.
But having said this: it is still in preview and I like it already.

2 comments