Reading time: 7 minutes

Microsoft Purview is getting an overhaul and it looks great. Time to take a look at the new (preview) eDiscovery layout.
In today’s digital age, managing and securing vast amounts of electronic data is crucial for organizations, especially when it comes to legal and compliance requirements. Microsoft Purview eDiscovery is a powerful tool designed to help organizations efficiently handle electronic discovery (eDiscovery) processes. eDiscovery involves identifying, collecting, and producing electronically stored information (ESI) that can be used as evidence in legal cases or investigations.
Microsoft Purview eDiscovery offers a comprehensive suite of features to streamline this process. It integrates seamlessly with Microsoft 365 services, allowing you to search for content across platforms like Exchange Online, OneDrive for Business, SharePoint Online, Microsoft Teams, and more. This integration ensures that all relevant data can be easily located and managed from a single interface. And it’s this interface I want to focus on.
Read the book
Several months ago, Ryan, Purav, and I, in collaboration with other Microsoft MVPs, initiated the development of a comprehensive guide to Microsoft Purview eDiscovery. During this project, we were notified that Microsoft would be launching a new Purview portal and overhauling the eDiscovery processes.
Well, that’s just great 😊 All (or at least some of) the hard work needs to be redone for the book to become relevant again. And I know: that’s the problem with writing books on cloud technology. But in the end, it will work out, and before 2026!
https://www.amazon.co.uk/Microsoft-eDiscovery-Depth-Purview-content/dp/1835462707
In this post, I want to focus on the new interface for eDiscovery. I will not be going into much detail on all the options – as I don’t want to rewrite the book in one blog post 😉 But I do want to look at the differences between the current and new ways of performing an eDiscovery (Premium) investigation.
The classic look
The (now classic?) eDiscovery (Premium) model follows the Electronic Discovery Reference Model (EDRM) to the letter. It uses concepts of custodians, data collections, and review sets. The process for starting an investigation is to create a case and configure the required settings. This is followed by adding (custodial) data sources to the case and (if required) placing these sources on hold.
Collections are used to search for the required information using KeyQL queries. Once done, a collection is “committed” to a new or existing review set. Note: after committing a collection to the review set, this collection cannot be modified! The review set is used to investigate the content further and to prepare this to be presented and/or exported.

This is the standard process (in a very small nutshell) of eDiscovery (Premium).
The new and improved eDiscovery (Premium)
The new look and feel for eDiscovery and Content Search is clear and (in my opinion) very much improved. Some functionality has been added (see below), but I did not see the concept of data custodians return in this (preview) portal. Let’s look at the new process for running an investigation.
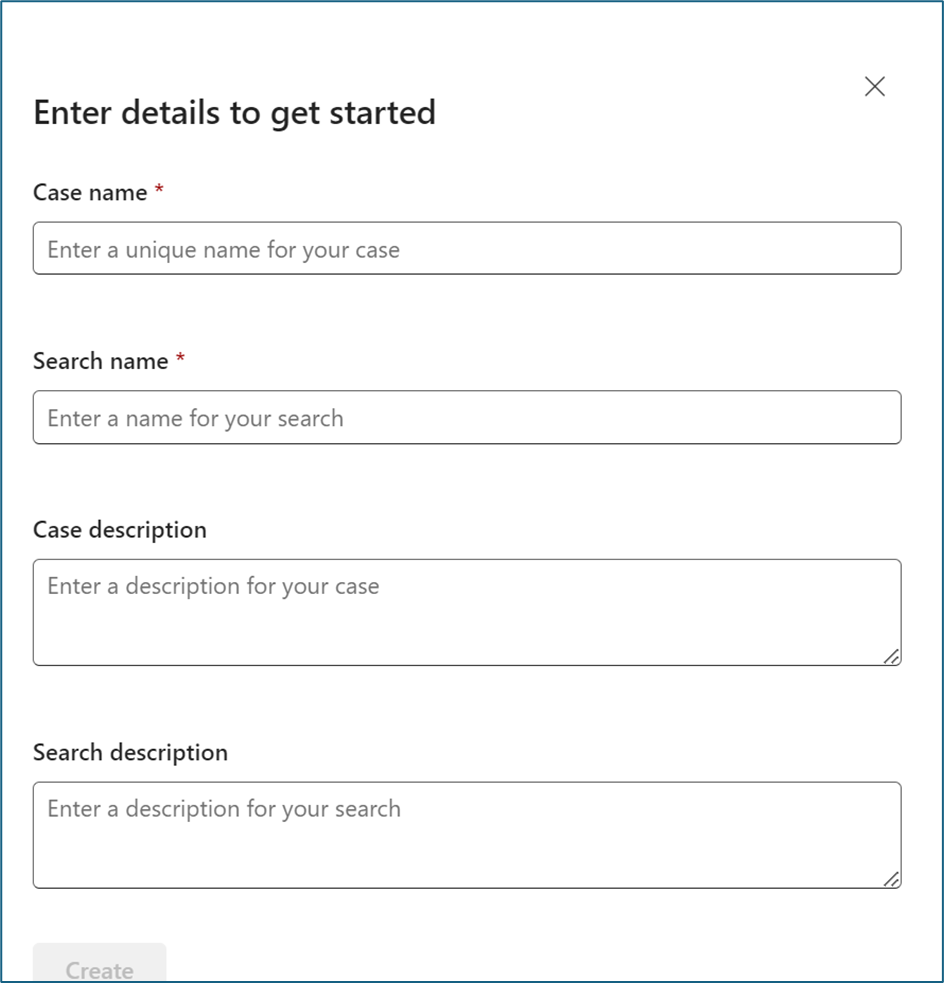
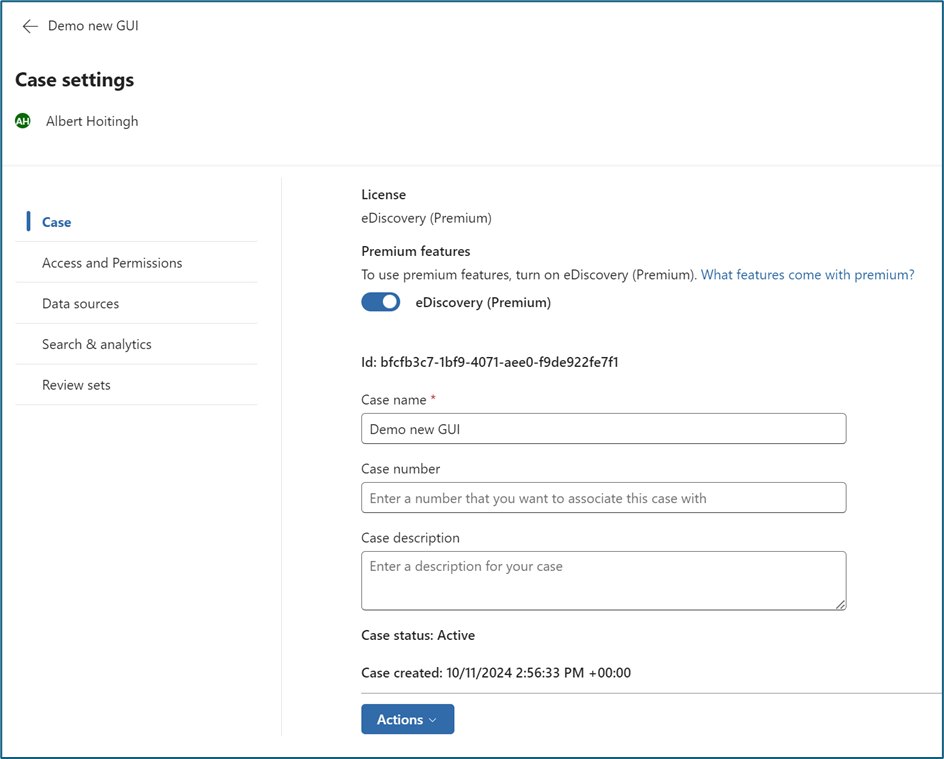
Create the case and provide details
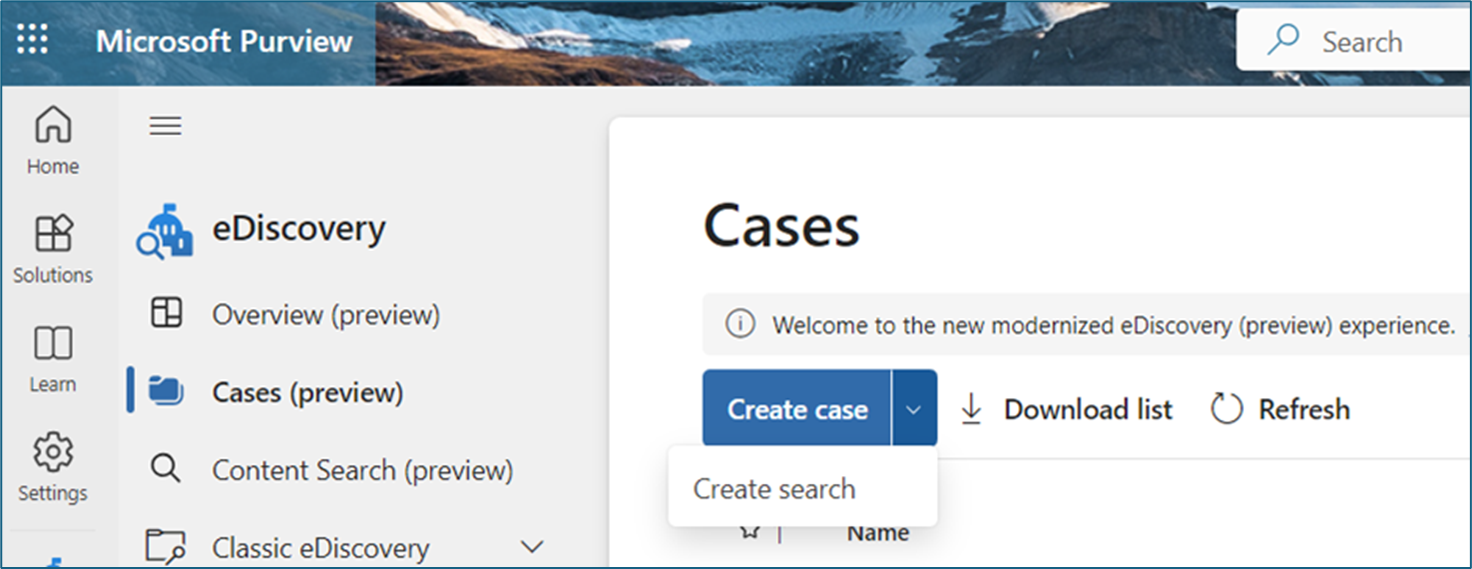
When the case is created, you will automatically be directed to the search query options. This is the same interface you will see when using Content Search. You can start by searching your content.
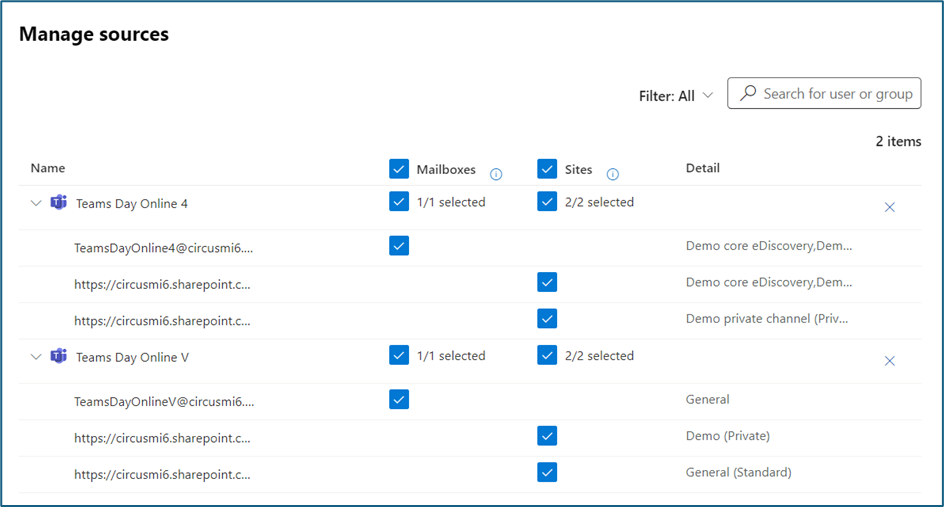
Add data sources
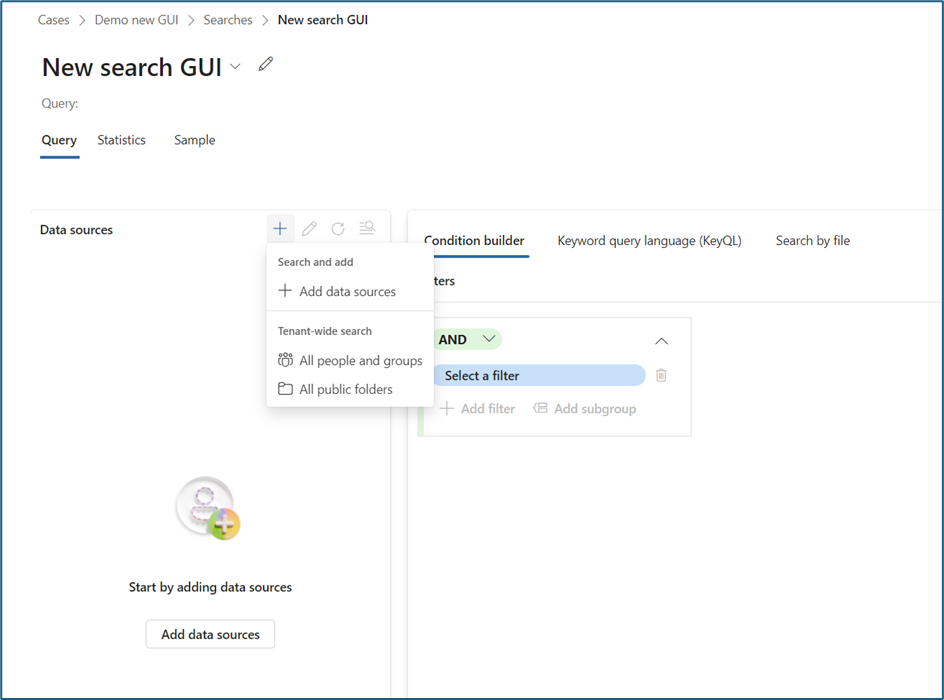
Here you can either add everything in the tenant (all users/Microsoft 365 groups/public folders) or be more specific. I did notice that the custodian option is no longer present and you cannot select specific SharePoint Online sites. Only group-connected sites can be added.
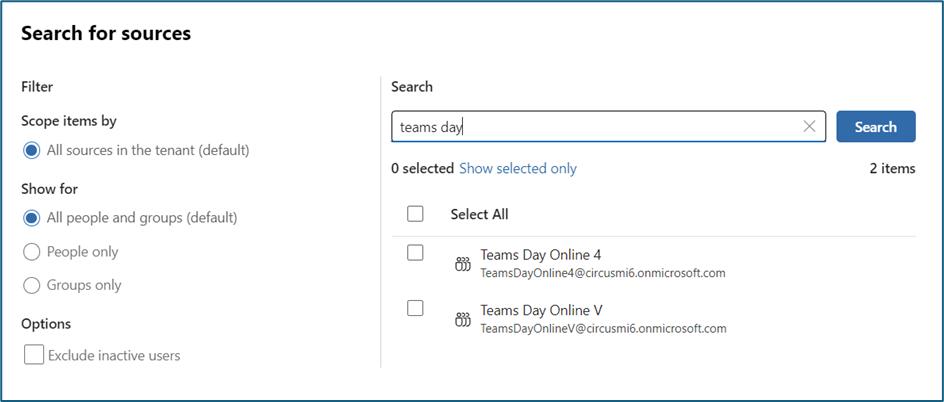
When Microsoft Teams environments are part of the data sources, you will see all channels related to this Team. This was already part of eDiscovery (Premium) in the classic look, but now also works in Content Search (which does not work in the classic look).
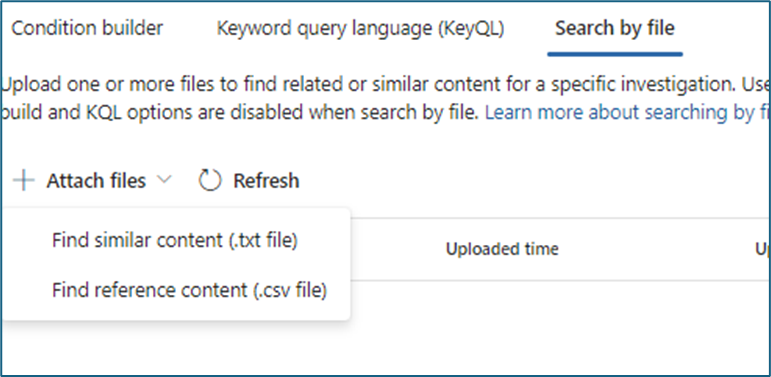
Create your KeyQL query
Now you can start searching for the information. The KeyQL builder is still here. And you can also use the option to use a file. This file contains information that can be used in the query. More on this here.

The condition builder has been expended and now includes these new items:
- KeyQL
- Sensitivity labels
- Topic
- Path
- Content Kind
- Content source application
- Identifier
The Content Kind is new and seems to be very powerful. It even includes a specific value for DocumentSets. Which I believe to be an underappreciated function in SharePoint Online. So great to see this here. And as you can see in the screenshot, there are lots of other parameters as well.
Run the query and select the options
Now for another new item in eDiscovery. Or, to be fair, an improved item as the information displayed was also available (in most cases) in the classic eDiscovery. Before you run the search query, you are asked which information to include.

When the search query has run, you will be shown a highly detailed summary page, including information on the sensitivity of the information found.

This is so much better than the search statistics in the classic eDiscovery (Premium) module. Kudos to Microsoft for this! From here, you can either export the information or commit the information to a review set.
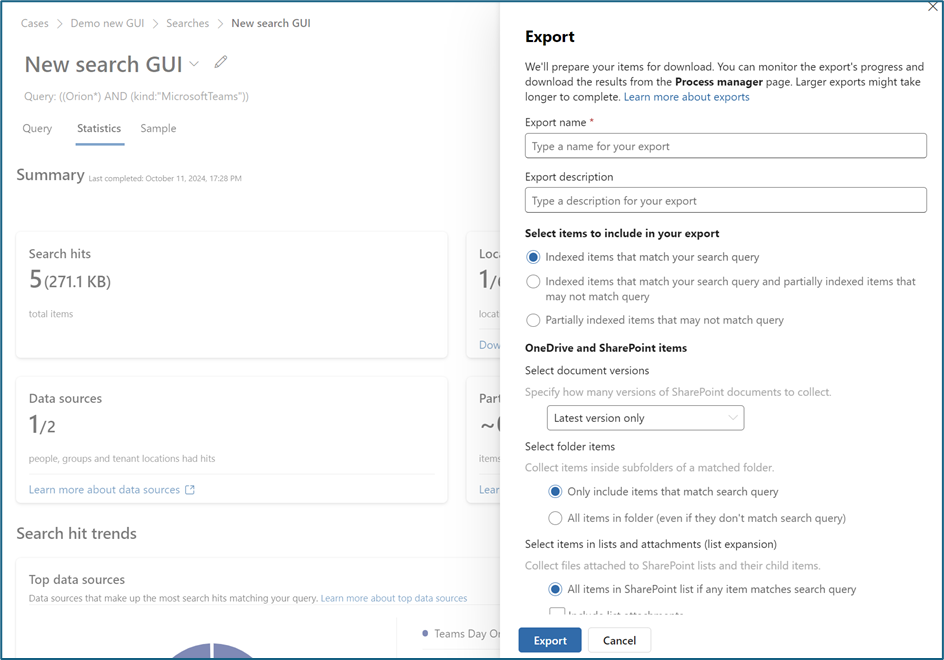
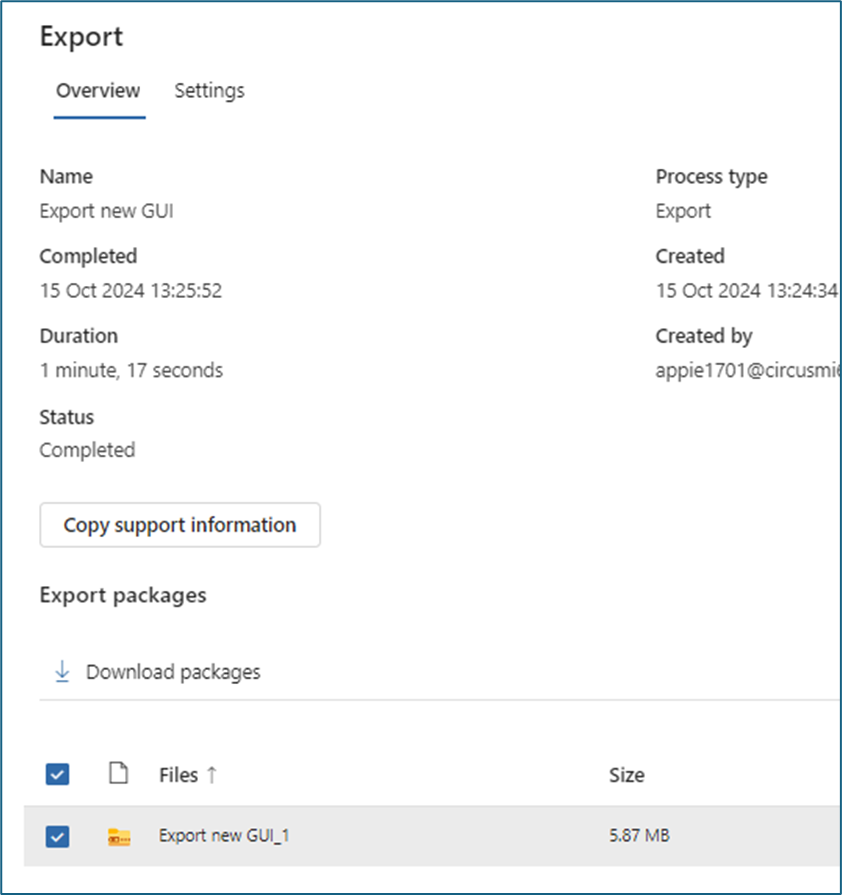
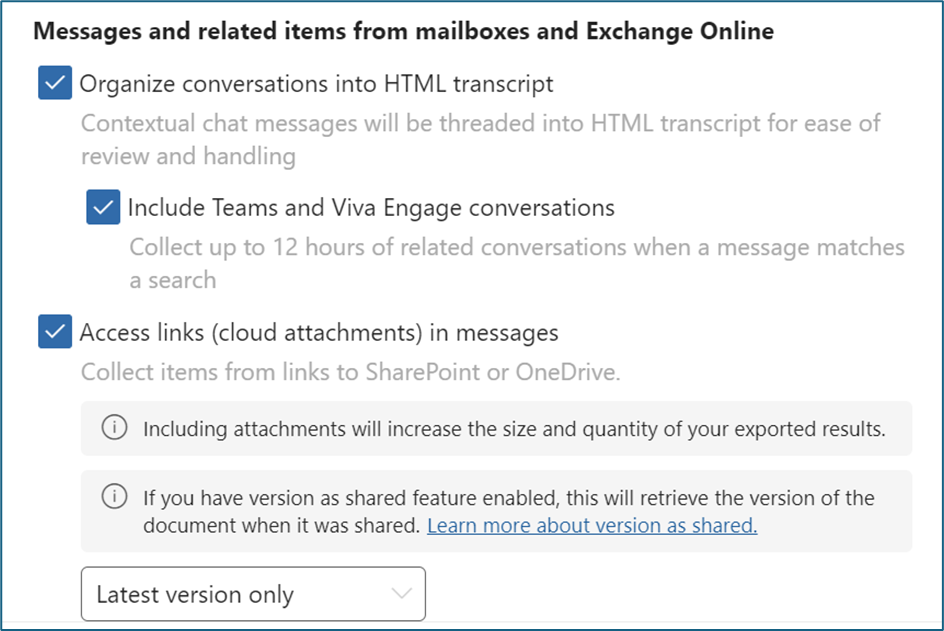
The export dialog is cleaned up and more intuitive. You can now select how many versions need to be part of the export, set options for cloud attachments, use friendly names for items, and select other options. And the greatest thing of all: there is no need for Microsoft Edge (or even Microsoft Internet Explorer) and the download client anymore.
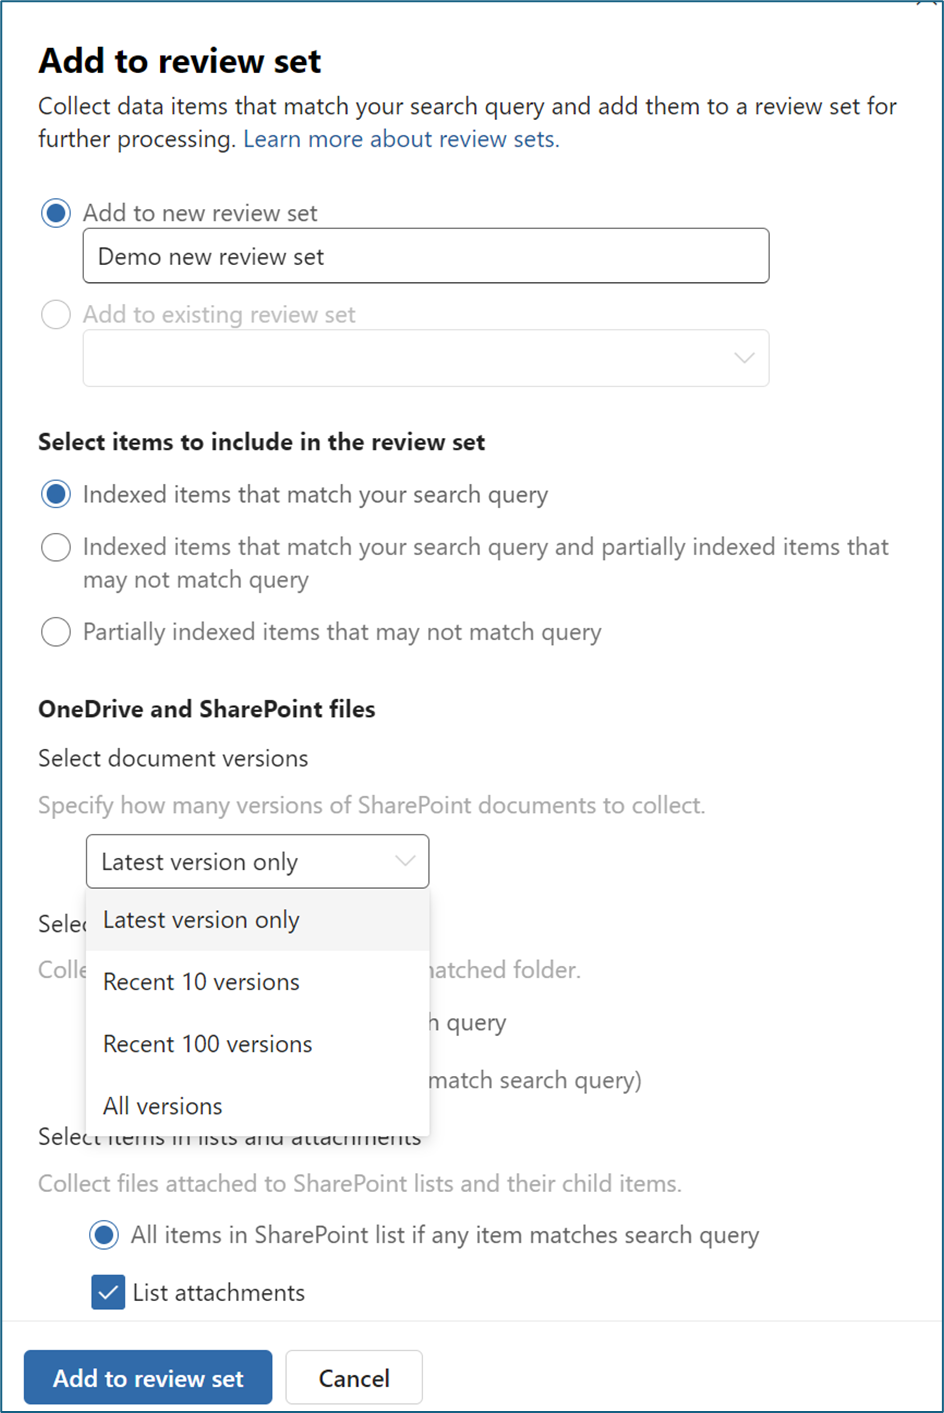
Review sets
Committing the content to a review set is still needed. But as far as I can determine, committing the information to the review set does not mean you cannot edit the search query. This is a great improvement! You can adjust the search query and re-submit it to the review set.
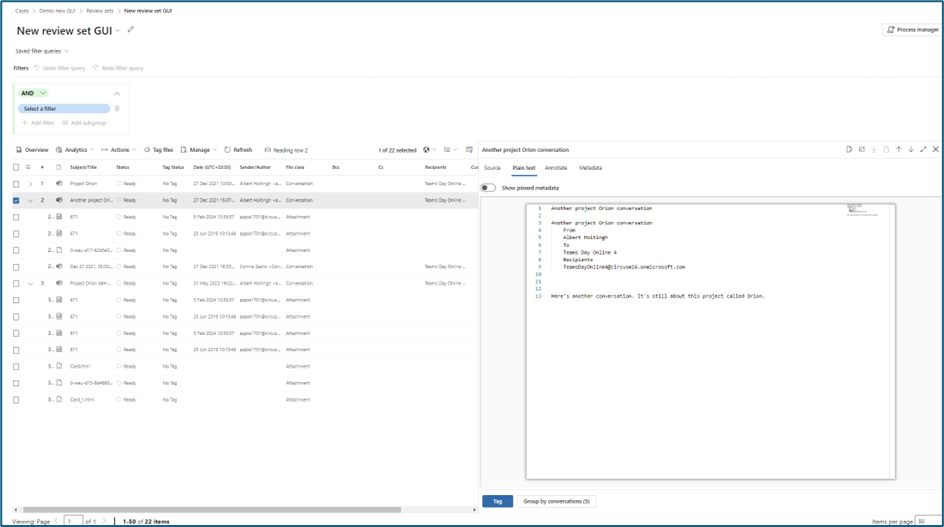
You can now start work in the review set, which is very similar to the classic review set. I haven’t looked at this in more detail. But all the familiar options are there.
To conclude: settings and progress
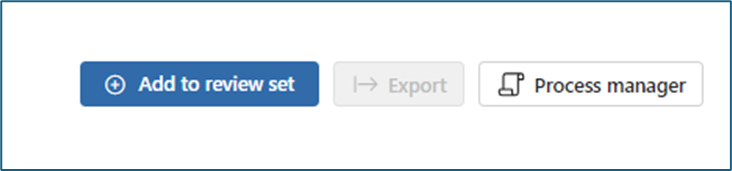
If you need to see the status of specific processes or processes that have already run, select the Process manager (on top ). For the settings, simply follow Case settings.
All in all
What can I say? I really like the new interface and how easy it is to use. More details on the workings of eDiscovery, including all the ins- and outs KeyQL, PowerShell, Copilot, and more can be found in the new book. But this was information I wanted to share in advance.
